Dashboard overview
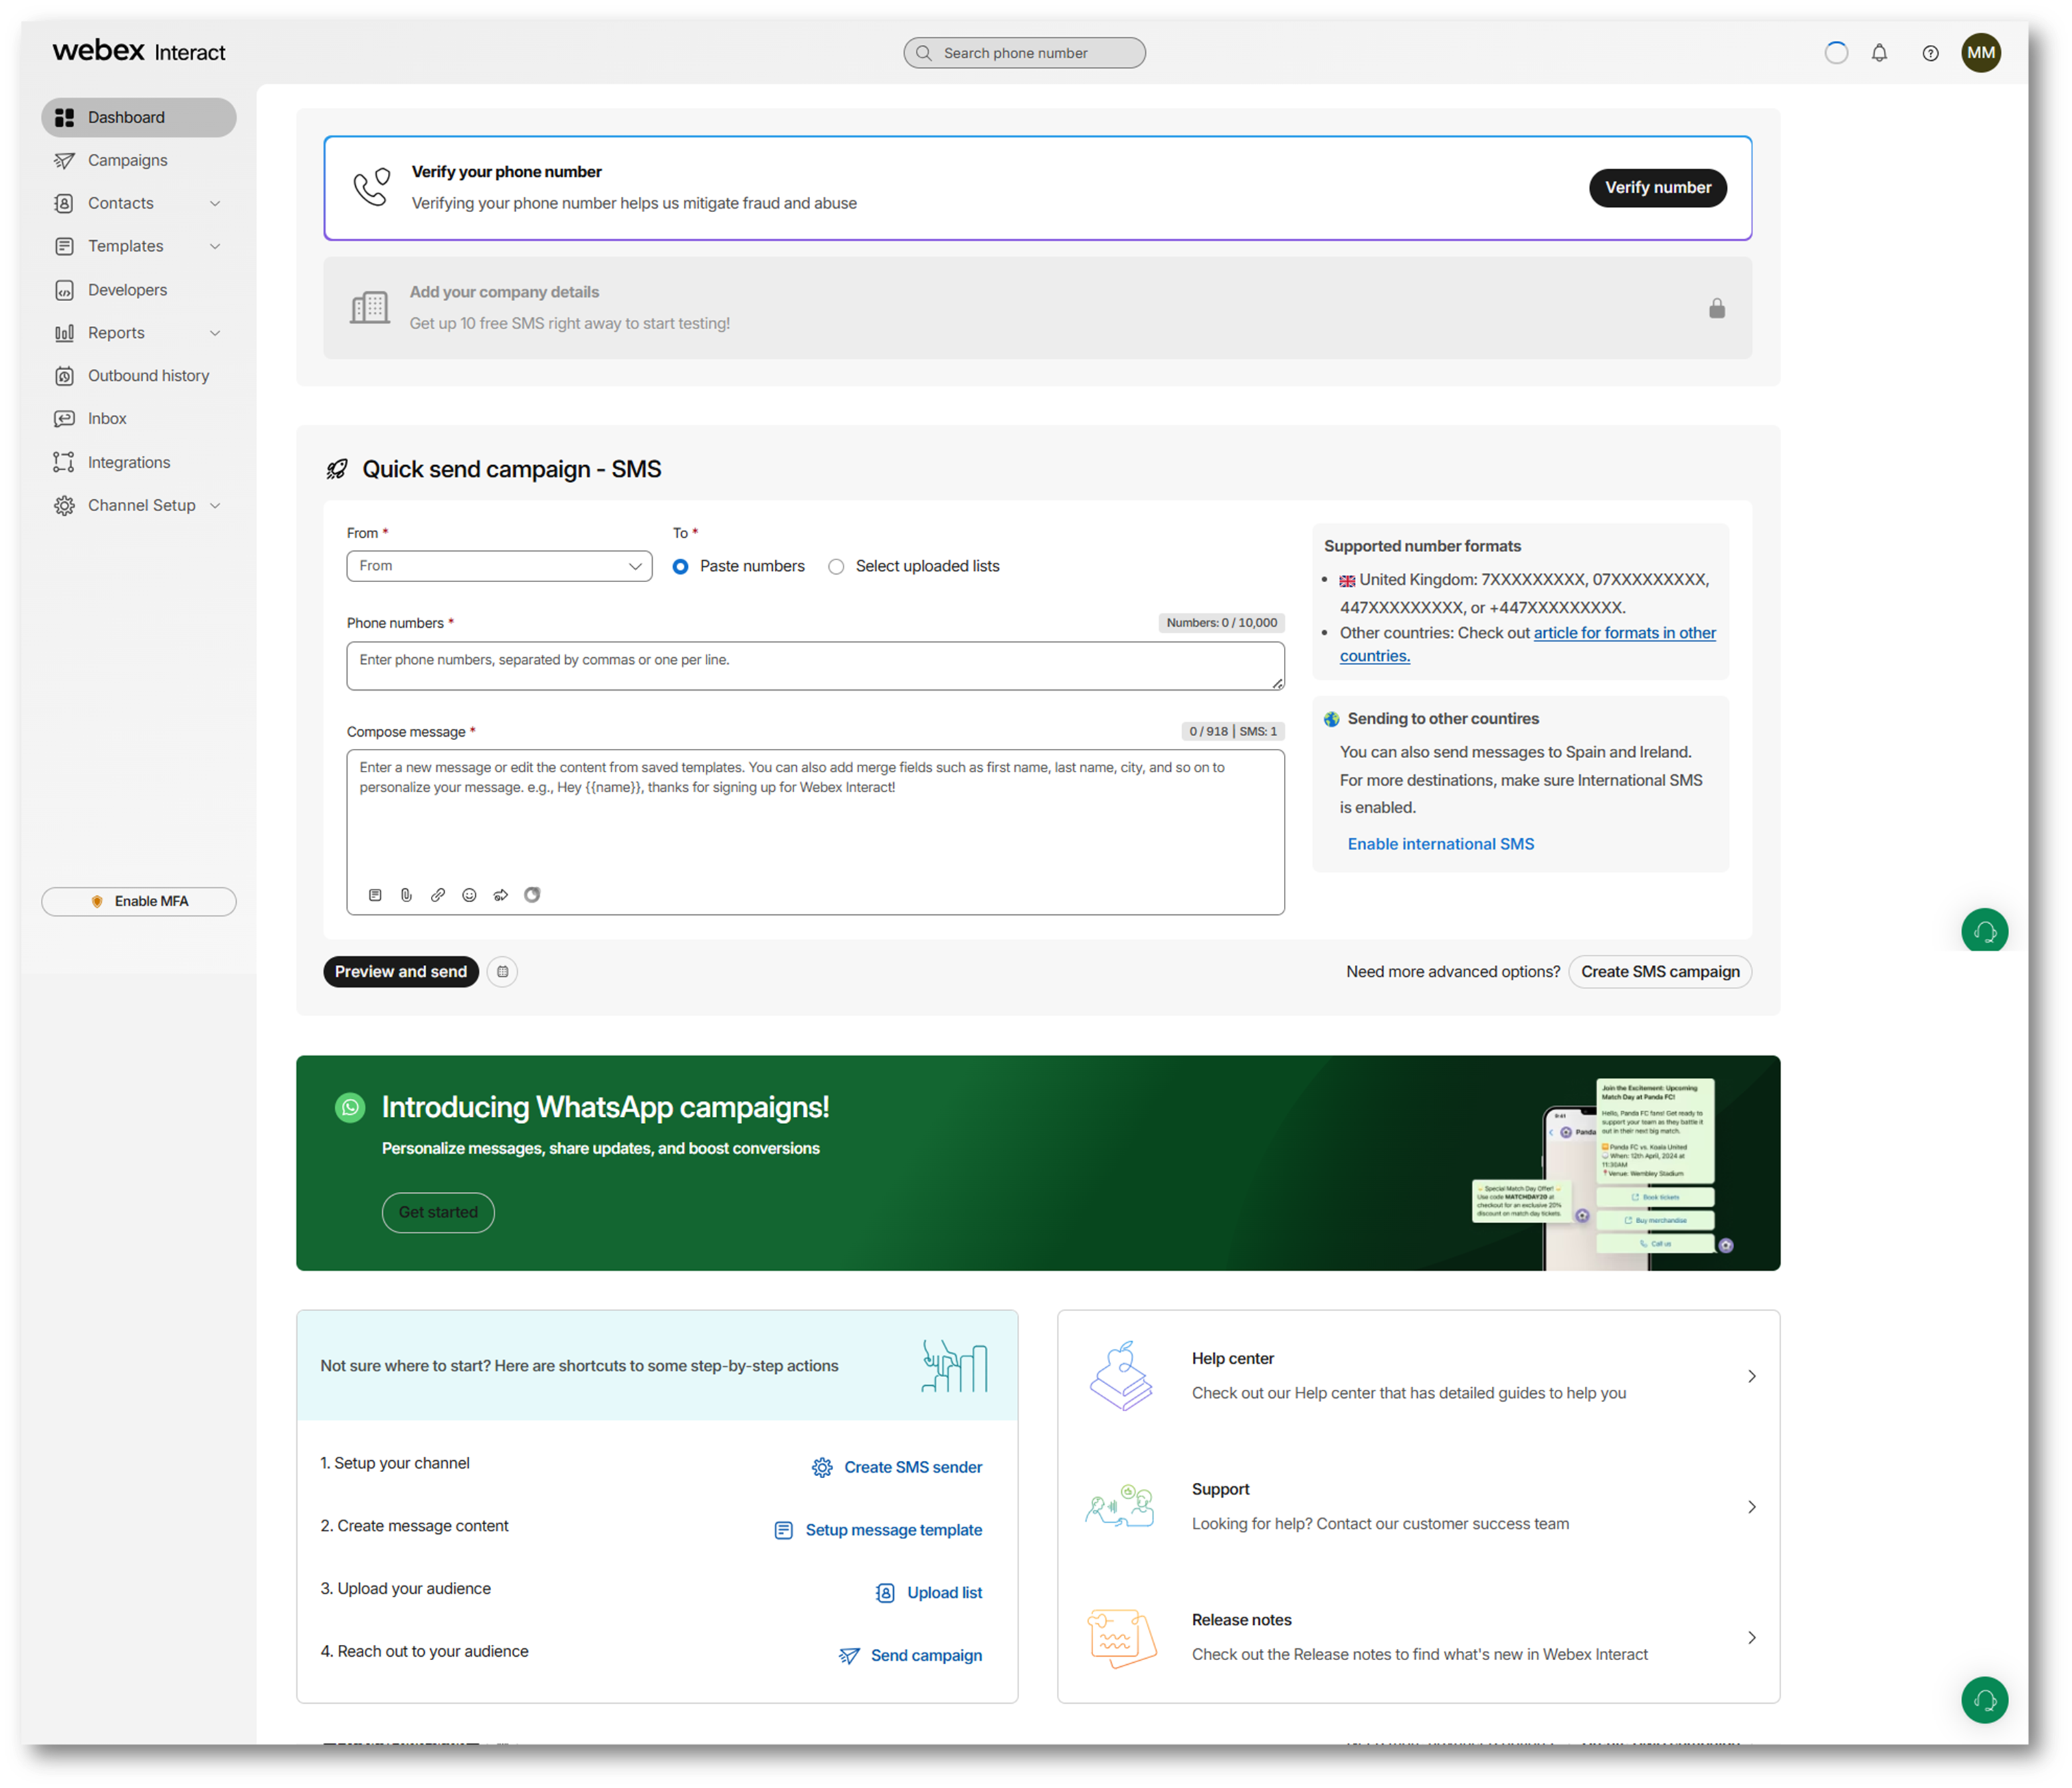
After you log in, you will be taken to your dashboard where you will see a list of tasks to help you get started with Webex Interact. Although your account will be created immediately after logging in, it will not be fully functional until you complete the verification process.
You can only view the available features on the platform. You will not be able to add account balances, senders, or send campaigns until you verify your phone number.
For new users accessing accounts for the first time, the dashboard will guide you through two essential steps:
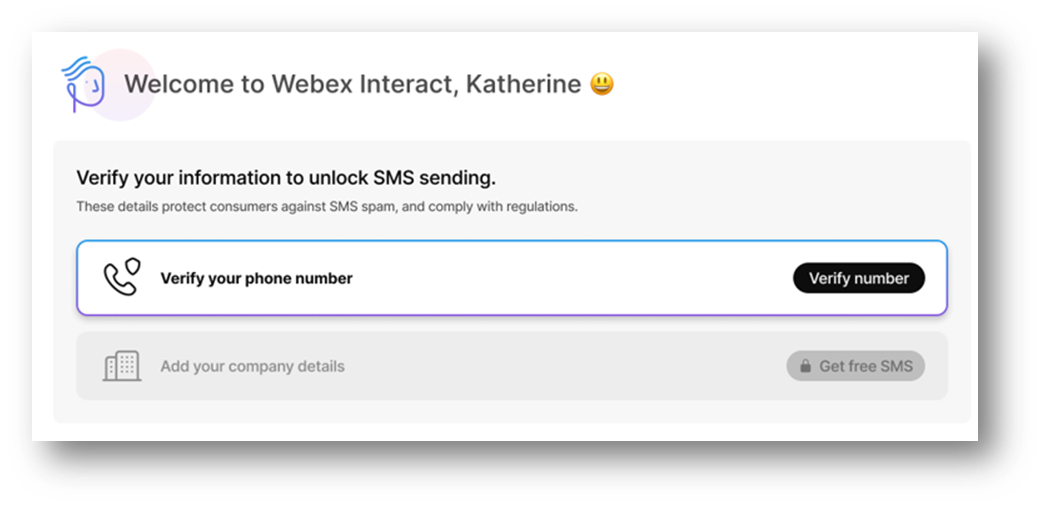
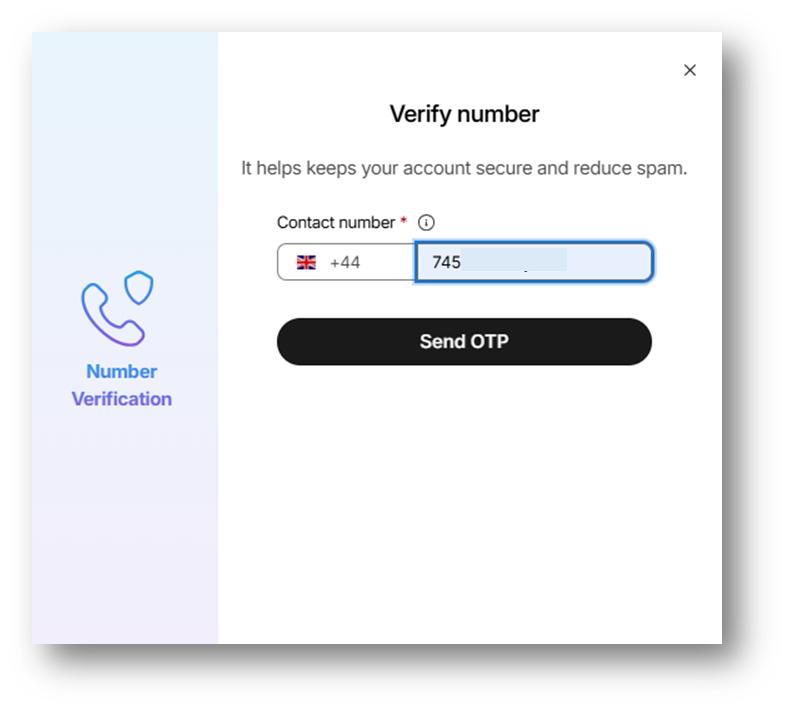
📱Verify your phone number
When you log in to your account for the first time, your account will be a trial account, and you can get free SMS by verifying your number. You cannot send messages on a trial status without verification.
Verify your number to get started with Webex Interact. Make sure you select the right phone number for your business verification. When you enter your new number with the country code, an SMS with a 6-digit verification code is sent to your existing number to verify you are the account holder. After verifying the contact number, you can verify your business details to get free SMS.
You can send free SMS from your account once your phone number and organisation address are verified.
📰Add your company details
Once you've verified your phone number, the next step involves verifying your business details. By adding accurate and up-to-date information about your business to your profile, you can ensure that you are a valid sender and eligible to get free SMS. This process involves confirming and providing detailed information about your business, such as its name, location, and other relevant details.
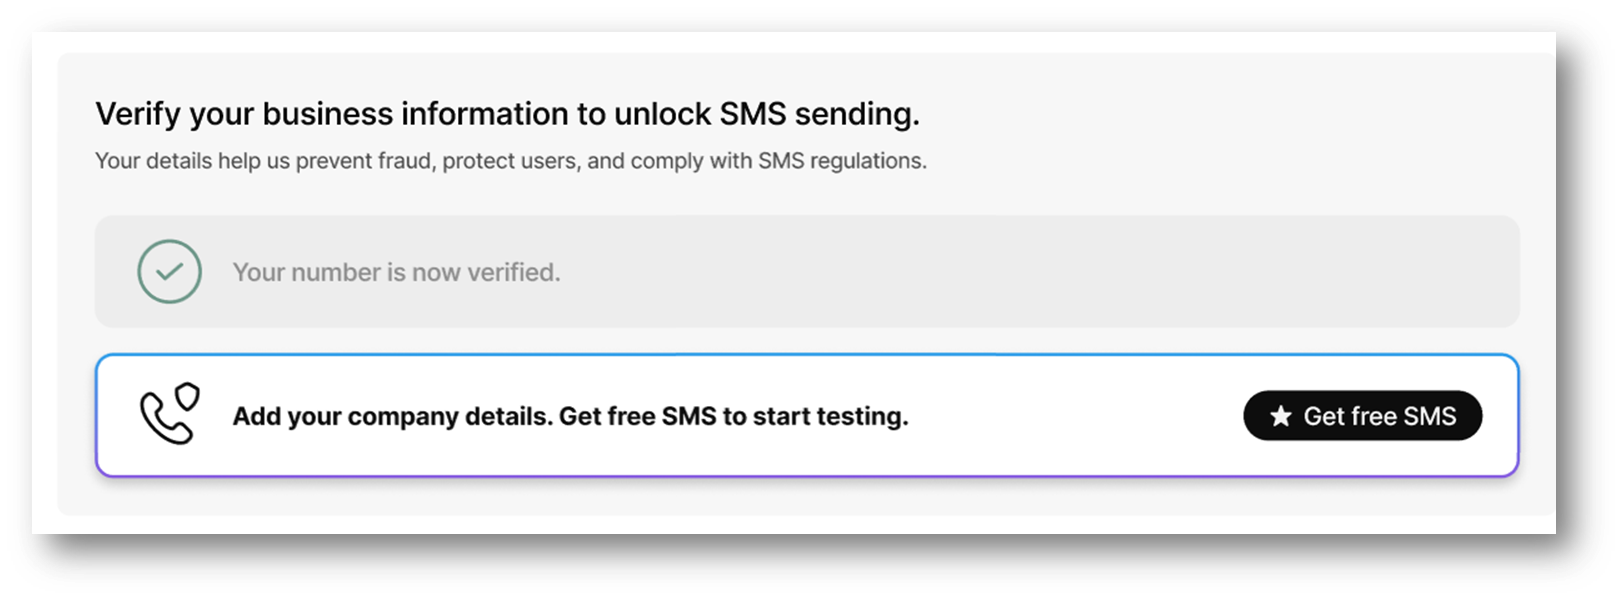
After verifying your business details, you can proceed to claim your free SMS. This provide you the opportunity to try out platform features.
Once both your phone number and business details are verified, your account will be fully verified. You can then add money to your account and start using all the features available on the platform seamlessly.
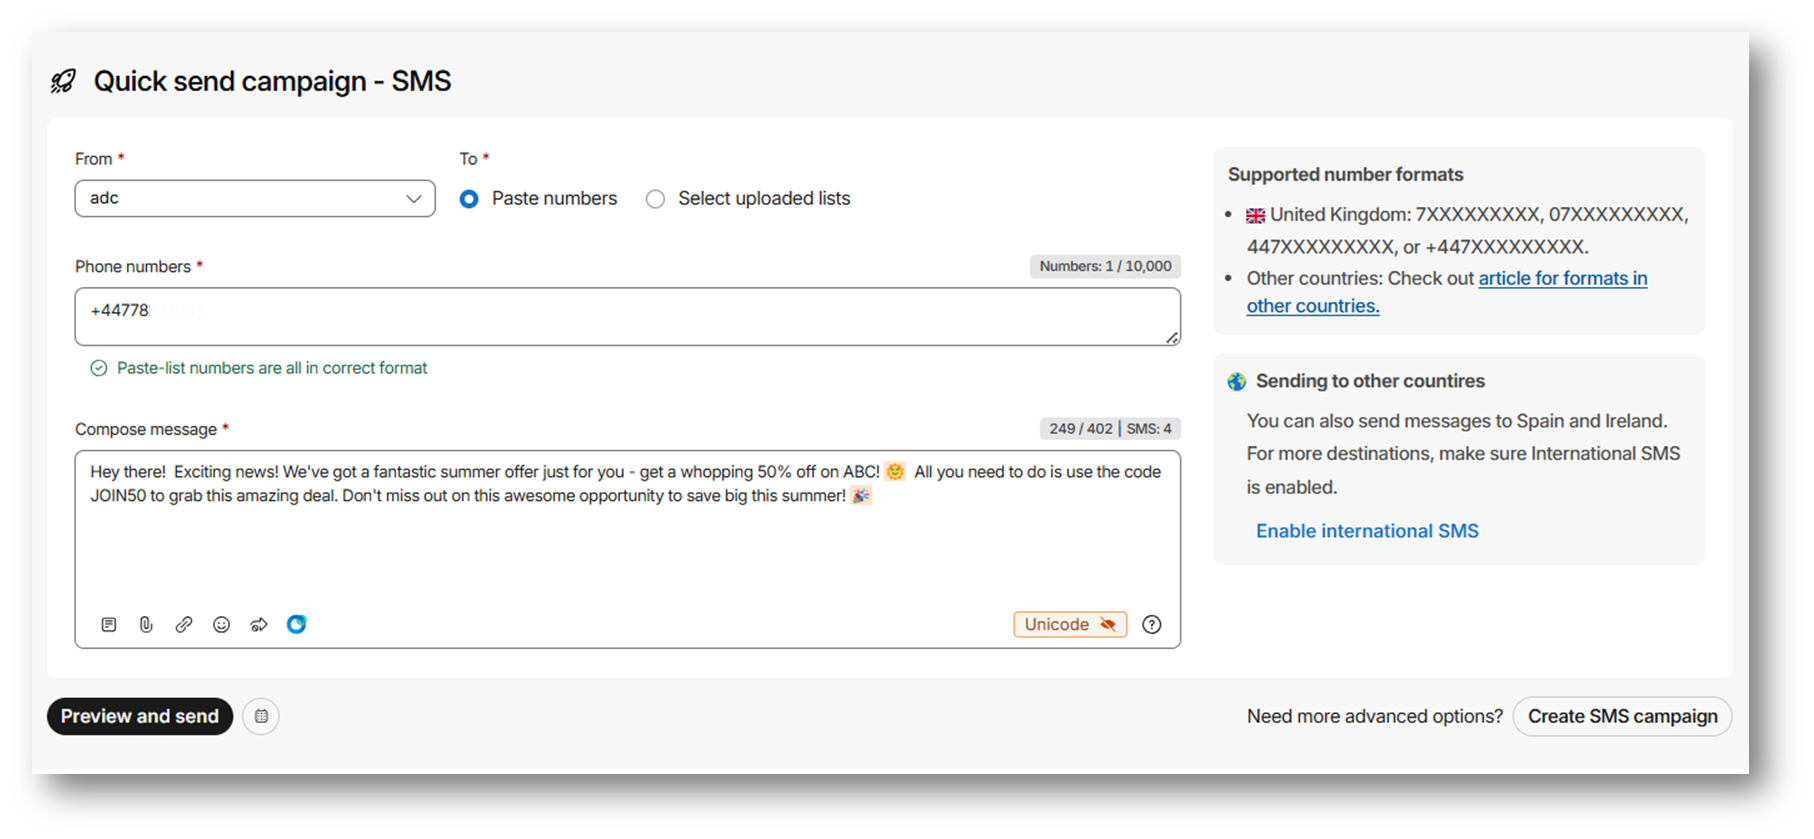
🚀 Quick send campaign
Effortlessly send smaller campaigns with Quick send campaign on the Dashboard. This feature is perfect for smaller or frequent SMS campaigns to a small set of numbers. Simply choose the sender, select contact lists or paste phone numbers directly and enter message content to send an SMS campaign. You can find the reports for Quick Send Campaigns in the campaign reports section.
Once your account is up and running, you can start quickly sending messages to your customers. You can:
- Send personalized messages quickly
- Connect and engage with more customers
- Use SMS campaigns to expand your business
- Effectively promote special offers and discounts
⏭️ Not sure where to start!
The dashboard provides you with a list of tasks to be performed in order to send a campaign. This section provides guidance, ensuring that you take the necessary steps to successfully create and send your campaign.
It simplifies the process and ensures that you don't miss any important steps in your campaign setup. Clicking on each card guides you through the campaign setup and allows you to explore the features available in the product.

❓We're here to help!
You can explore the help center for more information related to the features available in Webex Interact. If you have any questions or need assistance, you can provide feedback or get in touch with the customer support team for prompt and helpful assistance. Stay informed about the latest updates on the product by checking the release notes section. It's a great way to stay in the loop and make the most of the evolving capabilities of Webex Interact.
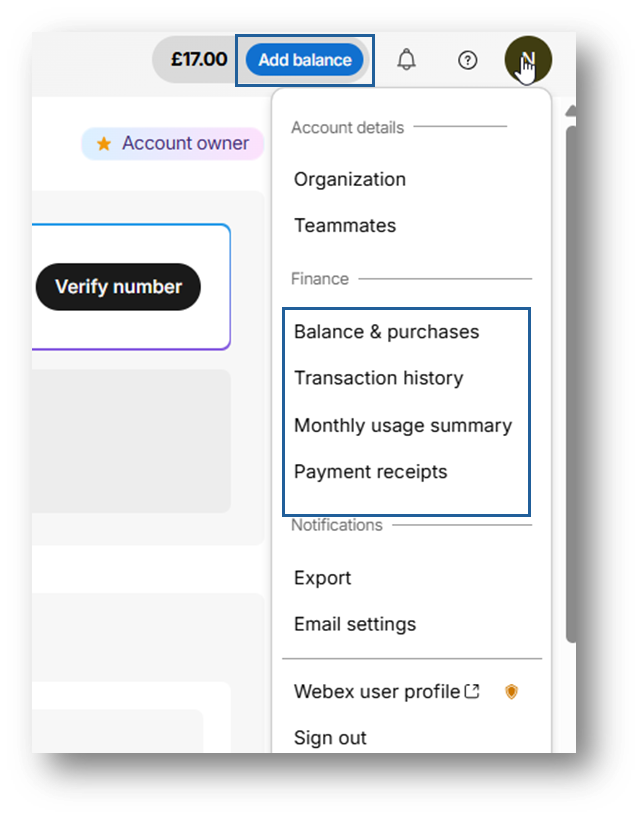
💲Add balance to your account
Keep campaigns running smoothly by maintaining a sufficient balance in your account. Adding balance is a hassle-free process that enables you to send and manage campaigns effortlessly. To view your billing information, see the Balance & purchases section.
Updated over 1 year ago