Add balance to your account
Top up your account via debit or credit card
In Webex Interact, you have a single balance to use for both sending messages and purchasing numbers. You can Add balance to your account quickly and easily from the Dashboard. Simply enter the amount you wish to add and follow the instructions. The balance will then be updated within minutes. If you are not sure about the amount, you can use our Price Estimator.
You need to add at least £10 to proceed with adding balance.

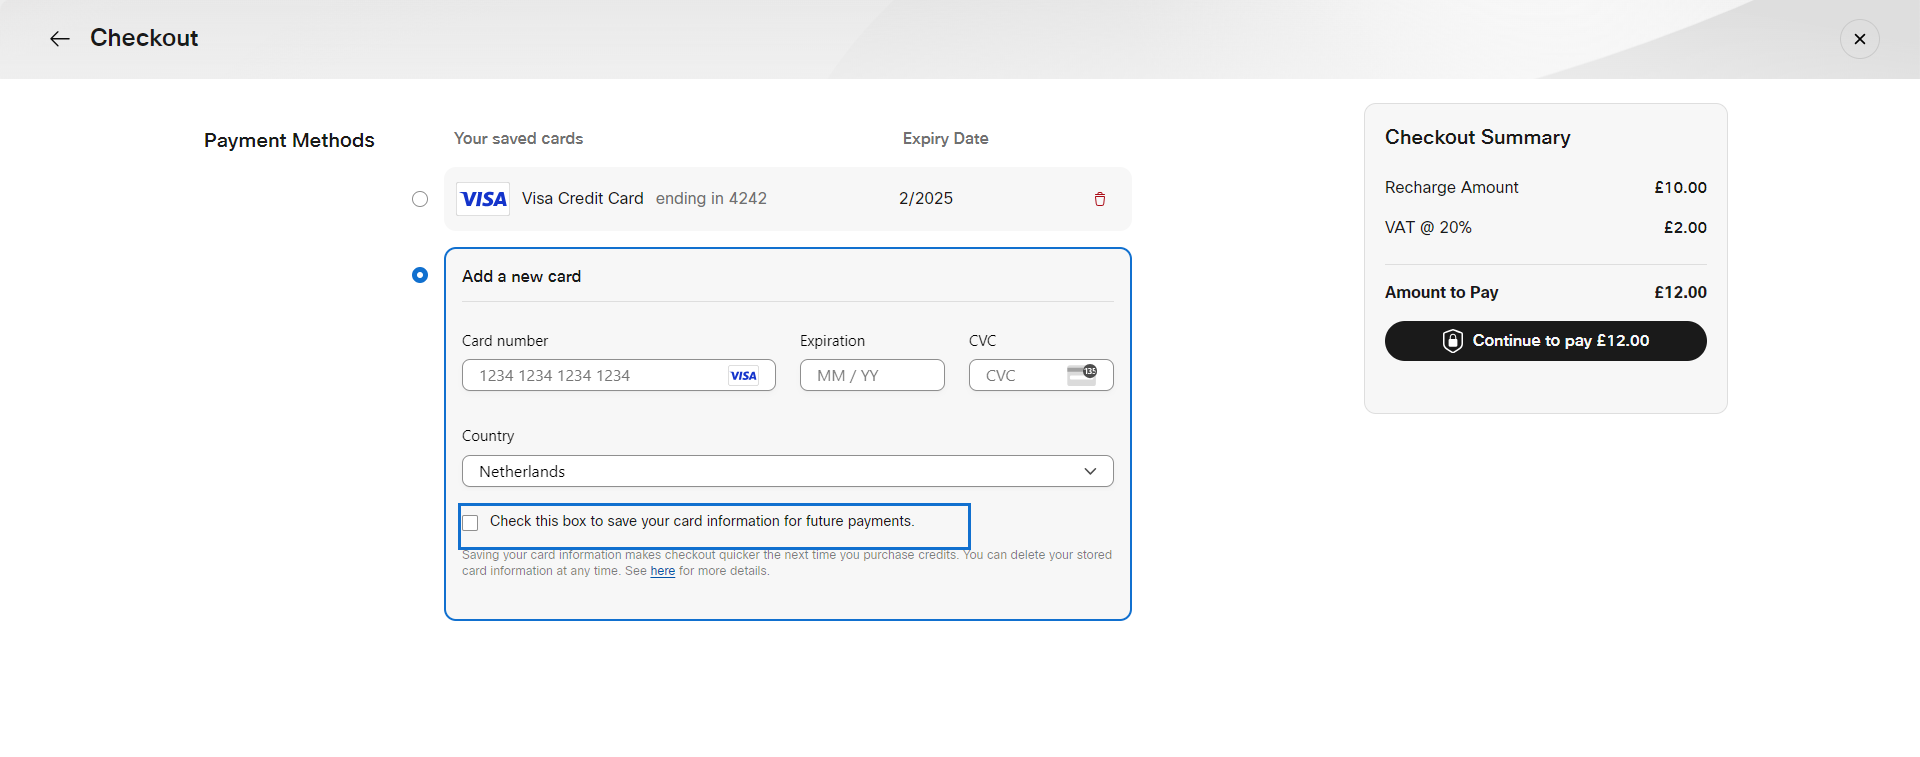
Add payment method
If you are a first-time user and looking to send your first message, you can quickly add money by entering your credit card details. Select "Add Payment Method" to enter your card number, expiration date, and the CVV security code. You have the choice to save or not save the card details.
- If it's a one-time purchase without plans for future use, it's recommended not to save your card information. Your card information doesn't need to be stored if it won't be used again.
- If you're not comfortable with saving the card for future transactions, you can remove it from your account after completing the transaction.
If you are already a registered user, you can choose from any saved cards. The payment methods available for your account depend on your currency and country selection.
You also have the option to enable Automatic payments with "Auto Top-up" and "Monthly Recharge". These automatically top up or recharge against your saved card details so you always have a balance to send campaigns.
Checkout summary
It includes a breakdown of the total payment, including the recharge amount and any applicable taxes. It provides a clear and concise overview of the financial details of the transaction. Make sure to review the details before proceeding with your payment.

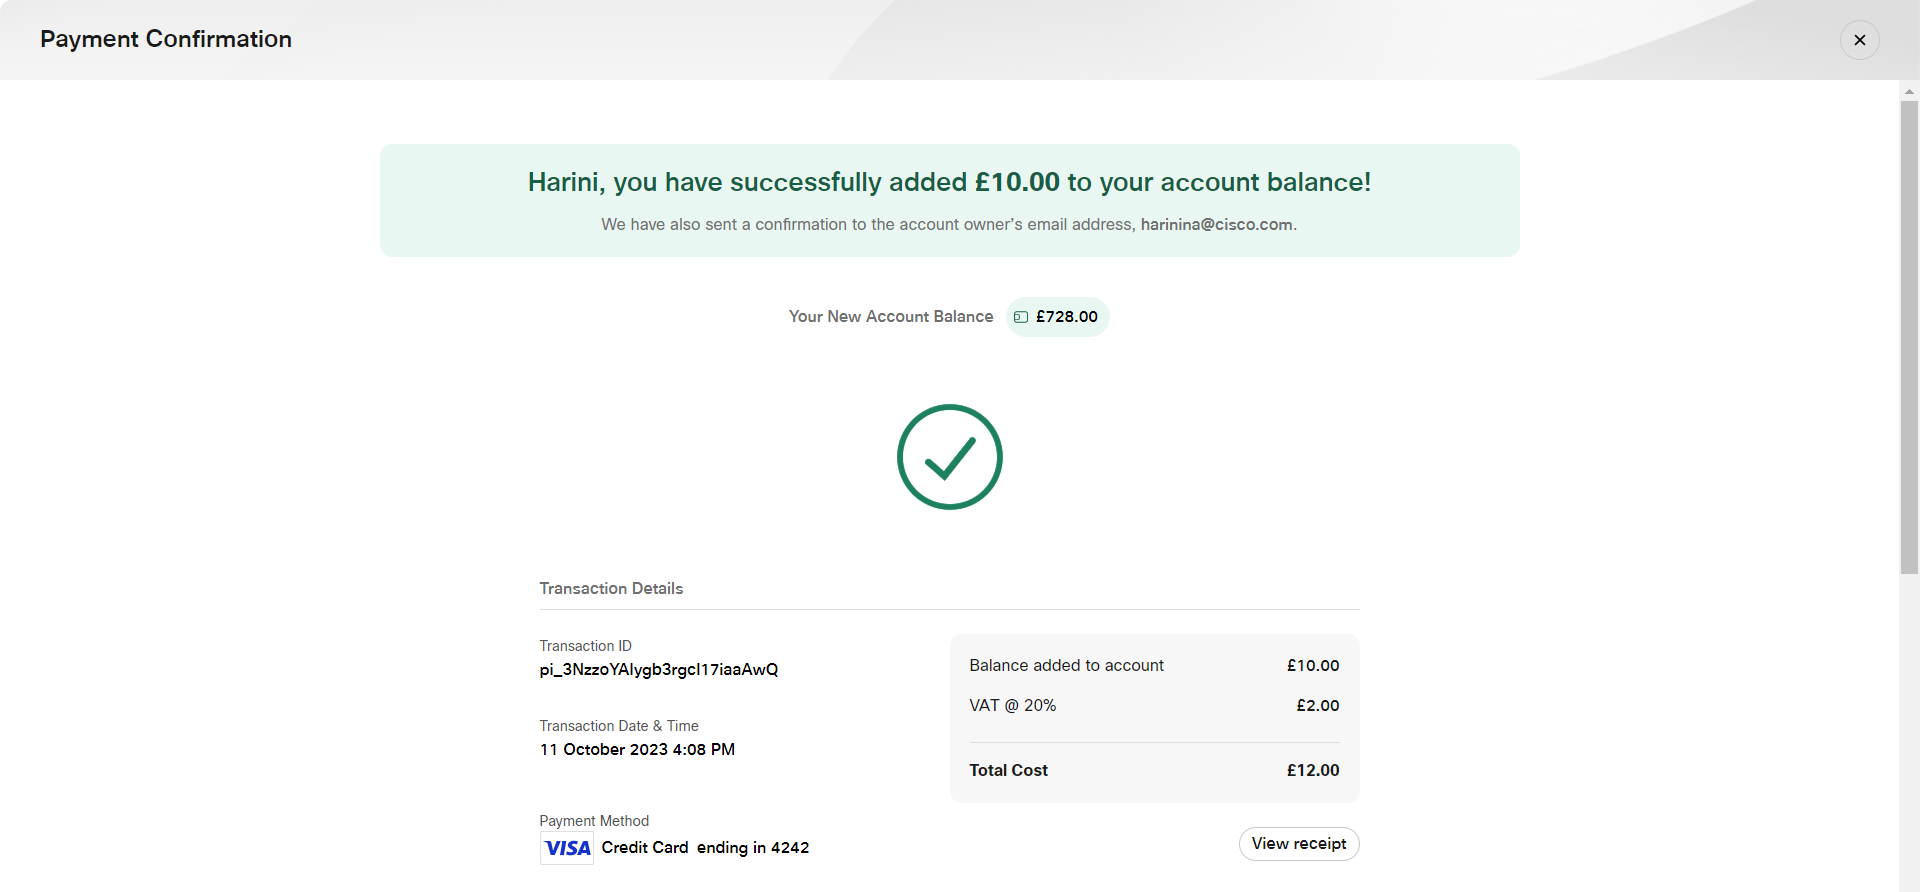
Payment Confirmation
After completing a payment, your account will be immediately updated with your additional payment in the balance in the top right corner. You can view the confirmation, including the transaction details you've just completed.
You can view the transaction receipt with a detailed summary, including the payment amount, date and time, payment method, transaction ID. This ID is included in both the confirmation page and the receipt can be used as a reference to follow up on the transaction.
Updated over 2 years ago