Create and send a WhatsApp campaign
When you create your Webex Interact account, you will have £5 in your wallet after verifying your number to help you explore the product without committing any money upfront.
Before you send your campaigns, you need to make sure you have enough wallet balance. You can add balance to your account online using a credit or debit card by clicking "Add Balance" button from any page.
In this article, you will learn how to create and send a WhatsApp campaign in 6 easy steps:
1. Name your campaign
Choose a title for your campaign to easily search and filter within your account.
E.g., if you are sending a summer offer, you could call the campaign "Promo summer offer".
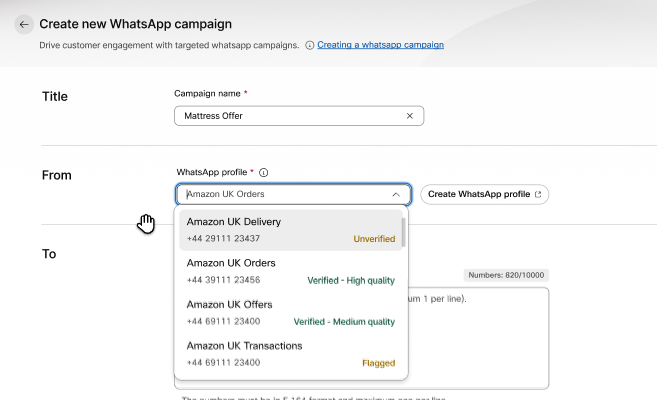
2. Choose/create a WhatsApp profile
WhatsApp profile serves as your business's identity and provides customers with essential information about your business, such as your name, description, address, and category. Choose an existing WhatsApp profile that represents your business/brand or create one.
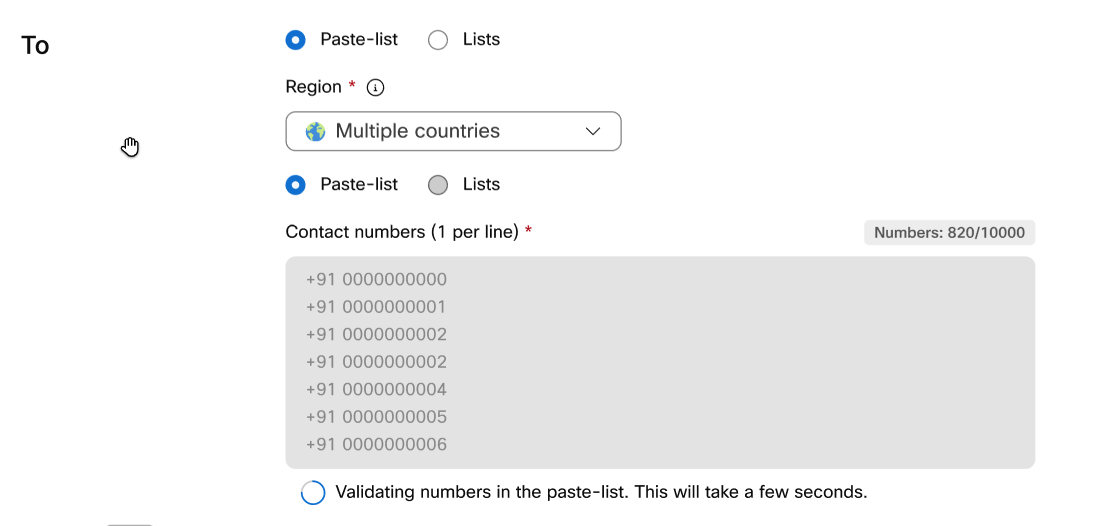
3. Select who you're sending the campaign to?
Before sending a campaign, you need to identify your target customers. You can either paste a list of numbers or choose from one of your uploaded contact lists.
- Paste-list - Copy and paste the list of numbers. Make sure you enter one number per line in E.164 format. Any duplicates will be removed automatically. For example, +4477xxxxxxxxx
- Lists - Select one or more contact list(s) in your account. To know how to upload contacts, check our article on uploading contacts.
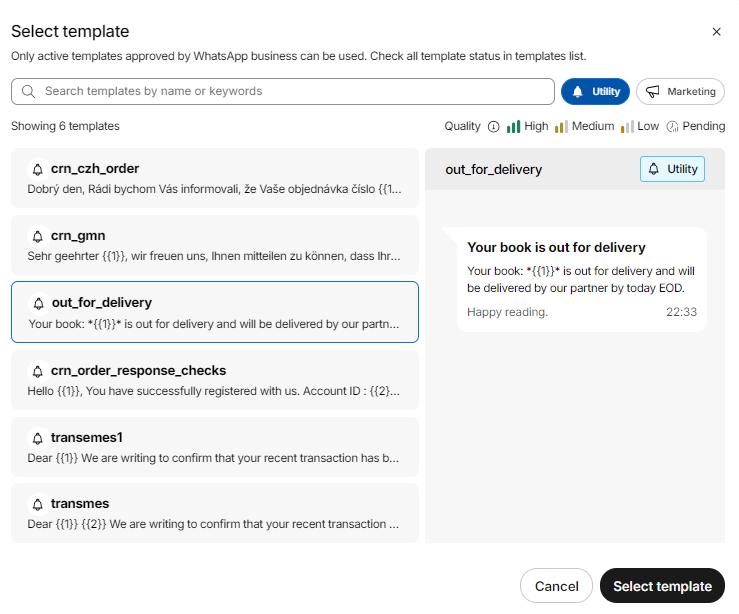
4. What to say in your message?
When sending messages through WhatsApp, it is necessary to use pre-approved templates. Before selecting a template, you must understand the type of template you want to send to your audience. You will be provided with a list of pre-approved templates, which Meta has approved. When composing your message for a WhatsApp campaign using these pre-approved templates, follow these steps:
- Choose a Template: Search for your desired template type by entering keywords. Choose a template that aligns with the type of message you want to send. Templates cover various scenarios, such as order confirmations, appointment reminders, or customer support. The available sample templates display the type of message template alongside their quality ratings.
- Add variables: You can enhance your messages by adding images/media, preview how they look on the right, and personalizing with placeholders. You can also provide a fallback value in case the intended placeholder value turns empty. Use variables to personalize your message. Add customer-specific information, such as their name, order details, or appointment times. Make sure to enter the correct values for variables before sending the message.

5. Choose the contacts to send
After uploading the lists, you need to review and choose the contacts to whom you intend to send your campaigns. You have the option to target your campaign exclusively to WhatsApp contacts or to include all contacts. If you select all contacts, the contacts that are available on WhatsApp will receive your campaign as a WhatsApp message. The contacts not available on WhatsApp will be registered as a failure, and will not receive the message..

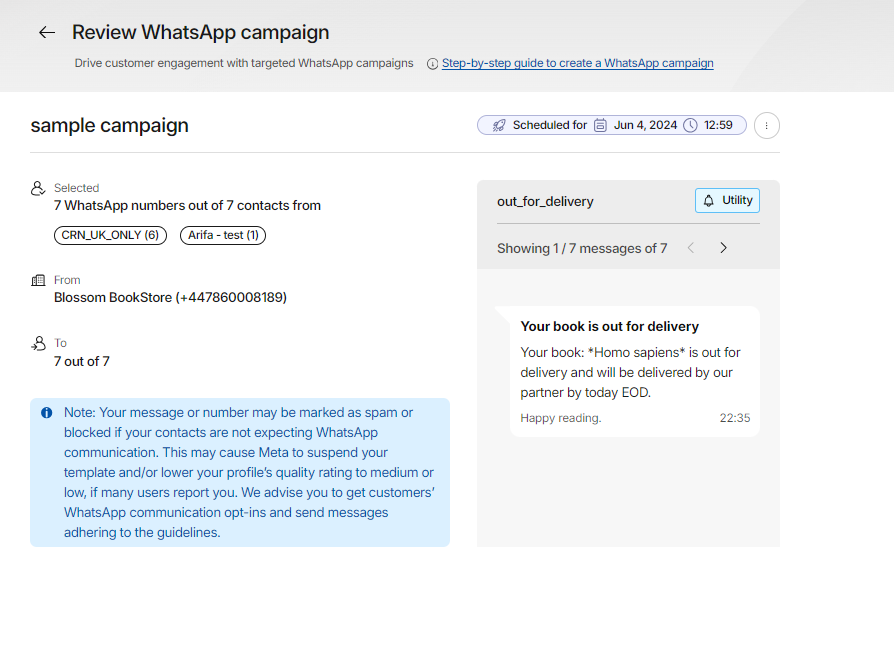
Note:
Your message or number may be marked as spam or blocked if your contacts are not expecting WhatsApp communication. This may cause Meta to suspend your template and/or lower your profile’s quality rating. We strongly recommend adhering to WhatsApp's guidelines and obtaining consent from customers before sending campaign.
6. Review and send your campaign
Before your message is sent, you have the opportunity to review the message content, check the recipients, preview any merged content, and check the estimated campaign cost. After reviewing, you can either send the campaign immediately or schedule it to be sent later.
Before sending/scheduling a campaign, Interact checks your account balance to make sure you have enough balance. If you do not have adequate balance, you will see an insufficient balance error and if your balance is low, then you might see a warning for marginal balance.
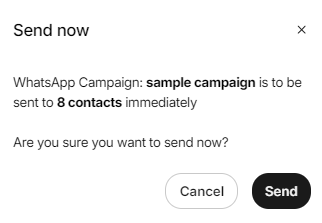
Send your campaign
Sending your campaign is the last step after review. Click the "Send Now" button on the review page and confirm to send your campaign immediately. Please note that your SMS campaign cannot be halted or changed once it is sent.
After sending the campaign, you can check the campaign statistics in Reports section which provides insight into the delivery status, engagement metrics, and other relevant data.
Schedule your campaign
Timing is everything. It’s important to consider when your customers will be most receptive to the message they receive, e.g. sending a message promoting a ‘buy one get one free’ offer on pizzas at 9 pm, when people have already eaten, is unlikely to be a success.
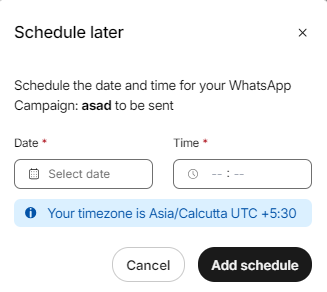
To schedule a campaign, click on the "Schedule" button, choose a date from the dropdown, and enter the time in hh:mm format. After your campaign is scheduled, you can monitor and track all WhatsApp campaign-related activities and related metrics on the Reportspage.
Updated 11 months ago